
A good media room usually looks simple when it is finished. The screen is in the right place, the sound feels full without being harsh, the seating makes sense, and everything turns on without a scavenger hunt for remotes. Getting there takes more than buying a big TV and a soundbar. The best media room installation ideas start with how your family actually uses the space, then build the system around the room instead of forcing the room to fit the equipment.
In Northern Colorado, that often means working with basement finishes, bonus rooms, open-concept living spaces, and multi-use family rooms. Some homeowners want a movie-first setup with projector and surround sound. Others need a clean everyday room for sports, streaming, and casual entertaining. Both can work well, but the right installation choices are what separate a room that looks impressive from one that gets used every day.
Start with the room, not the gear
One of the most useful media room installation ideas is also the one people skip most often. Before choosing products, look at the room itself. Ceiling height, natural light, wall construction, flooring, furniture layout, and viewing distance all affect what will perform well.
A basement room with low light may be a strong projector candidate. A brighter main-floor room usually benefits from a high-performance flat panel display. A long narrow space may call for different speaker placement than a wide open great room. If the room is shared with kids, guests, or everyday family traffic, ease of use matters just as much as picture quality.
This is where custom design pays off. A system that looks perfect online may be wrong for your space, your habits, or your budget.
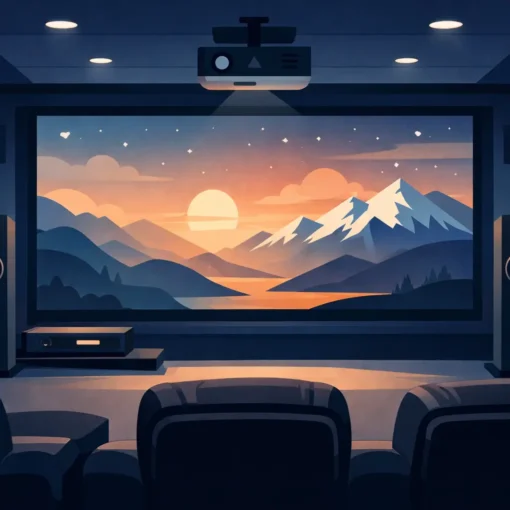
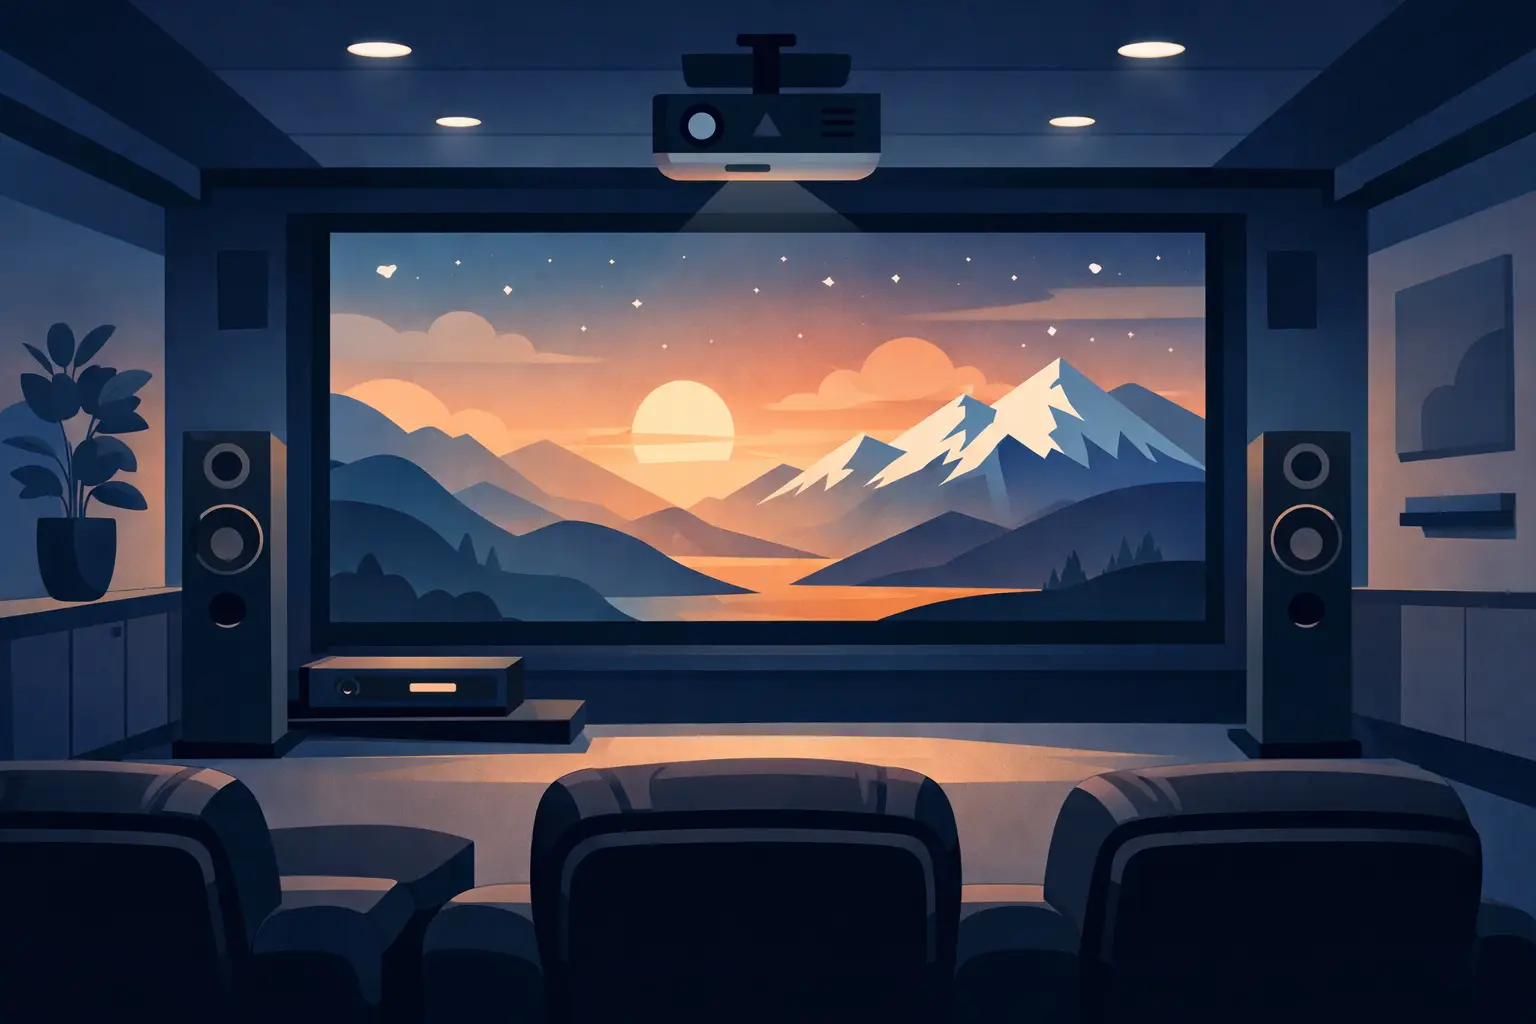
Plan the display around seating distance
Bigger is not always better if the screen is poorly placed. The most comfortable viewing experience comes from matching screen size and mounting height to where people will actually sit. If the screen is too high, neck strain shows up fast. If it is too small for the room, the system feels underwhelming no matter how much you spent.
For some rooms, a large TV is the better fit because it handles daytime viewing well and keeps installation straightforward. For others, a projector and screen create a more theater-like experience, especially in dedicated or light-controlled spaces. The trade-off is that projectors need more planning for brightness, screen material, room lighting, and equipment placement.
A clean installation also means thinking about what surrounds the display. Built-ins, fireplace walls, recessed niches, and custom cabinetry can either improve the design or create placement problems if they are not planned carefully.
Build sound in layers, not as an afterthought
A lot of homeowners focus heavily on the screen and treat audio as the add-on. That usually leads to disappointment. Strong sound is what makes a media room feel immersive, and it matters for everything from movies to football games to everyday TV.
The right setup depends on the room and the goals. In-wall and in-ceiling speakers can keep the look clean. Traditional cabinet speakers may offer more placement flexibility and performance in some spaces. Surround sound works best when speaker locations are planned before drywall or finish work is complete, but older rooms can still be upgraded with the right approach.
Subwoofers are another common turning point. One sub can be enough in some rooms, but larger spaces often benefit from more thoughtful bass coverage. That does not always mean louder. It often means smoother, more balanced sound across the whole room.
Hide the wiring before the walls are closed
If there is one detail that separates a polished installation from a frustrating one, it is infrastructure. Wire paths, conduit, power locations, equipment ventilation, and network connections need to be considered early. Retrofitting is possible, but it is almost always more limited and more expensive than planning ahead.
When homeowners are finishing basements or remodeling, this is the time to future-proof the room. Running conduit to the display, projector location, and speaker points gives you more flexibility later. Even if you are not installing every component right away, the room can be prepared for future upgrades without opening walls again.
This matters even more if you expect technology to change over time. Displays, gaming systems, streaming devices, and control systems evolve quickly. A room with good infrastructure is much easier to update.
Use lighting as part of the system
Lighting has a direct impact on picture quality and comfort, but it often gets handled separately from the media room plan. That is a mistake. Glare from windows, recessed cans placed in the wrong spot, and overly bright fixtures can ruin an otherwise excellent room.
Good media room lighting gives you layers. You may want brighter general lighting for cleaning and socializing, step or accent lighting for ambiance, and dimmable zones for movie watching. Blackout shades or light-filtering treatments can also make a major difference, especially in rooms used during the day.
Integrated control helps here. Instead of adjusting multiple switches and remotes, one button can set the room for movies, sports, or casual TV.
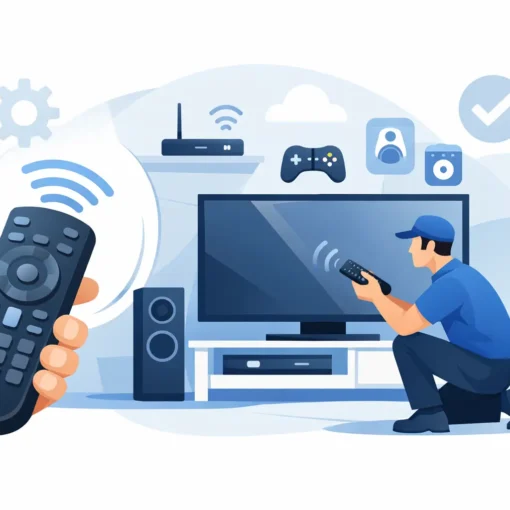
Make control simple enough for everyone
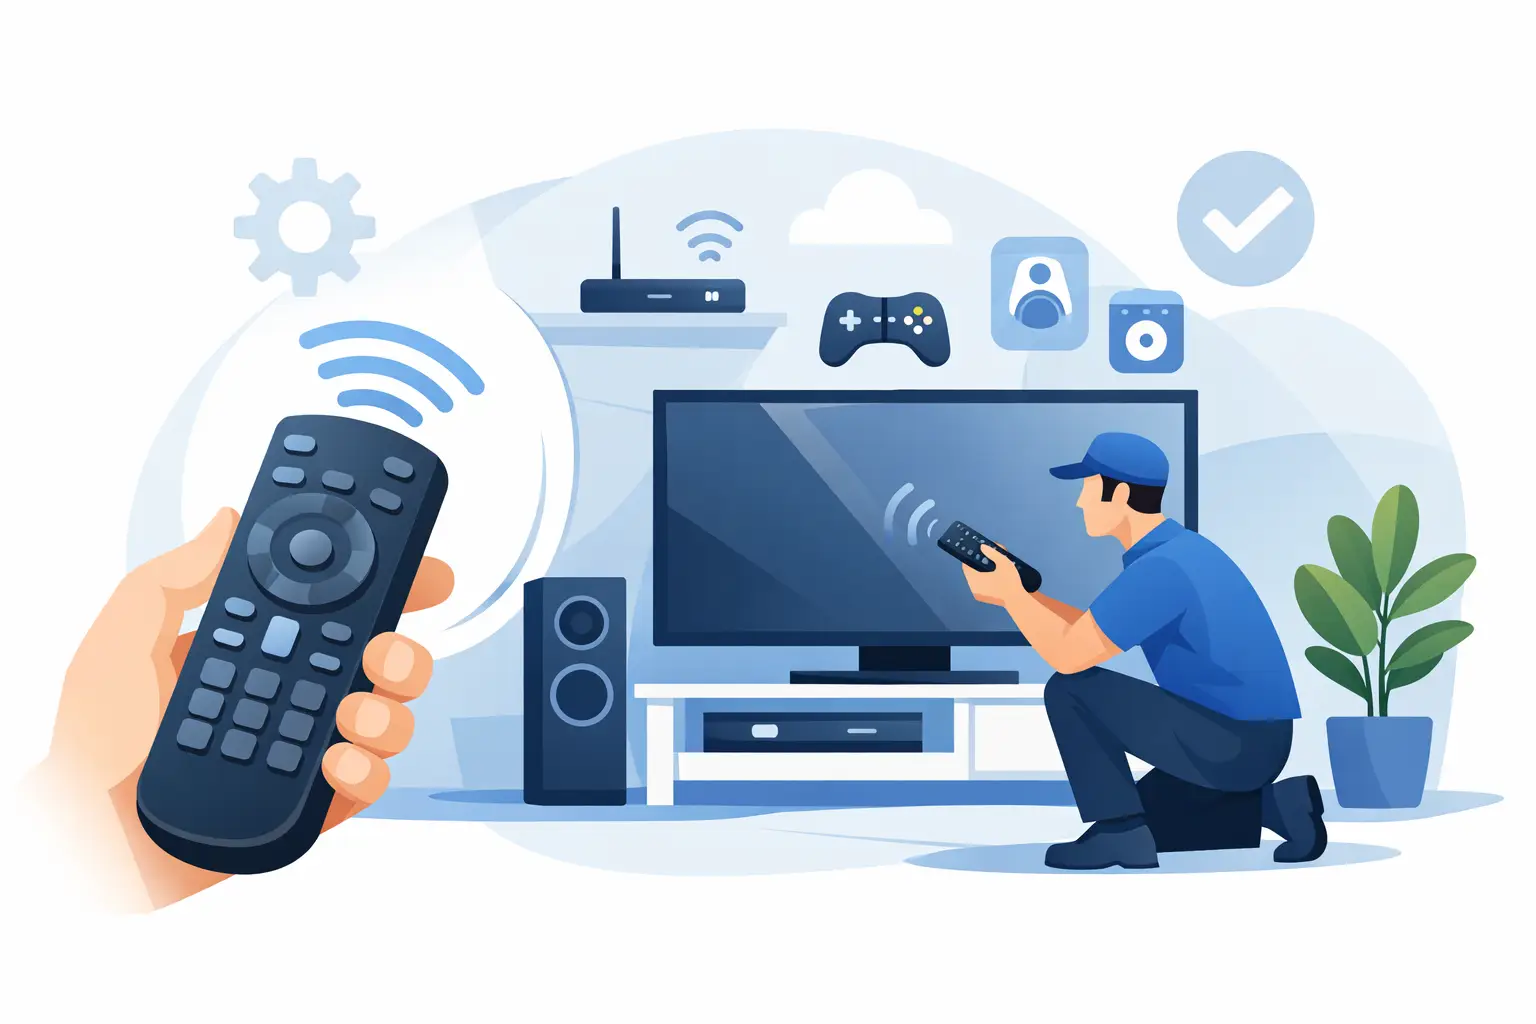
One of the best media room installation ideas has nothing to do with speakers or displays. It is simplifying how the room works. If your system requires a family lesson every time someone wants to watch something, the setup is too complicated.
A well-designed control system can combine the TV or projector, audio, streaming devices, lighting, and shades into a straightforward interface. That could be a handheld universal remote, a wall keypad, or a mobile app, depending on the household. The right choice depends on who uses the room and how comfortable they are with technology.
Simple does not mean basic. It means reliable, predictable, and easy to understand.
Don’t ignore acoustics
Even expensive speakers can sound disappointing in a room with hard surfaces everywhere. Tile floors, bare walls, large windows, and low ceilings can create reflections that make sound harsh or muddy. This is one reason some media rooms never sound as clear as homeowners expect.
Acoustic treatments can make a dramatic difference without making the room look overly technical. Wall panels, fabric treatments, rugs, and well-planned furnishings all help control reflections. In some rooms, custom acoustic elements can be built into the design so they improve performance while still matching the look of the home.
This is especially important in basement media rooms, where dimensions and surface materials often create challenging sound conditions.
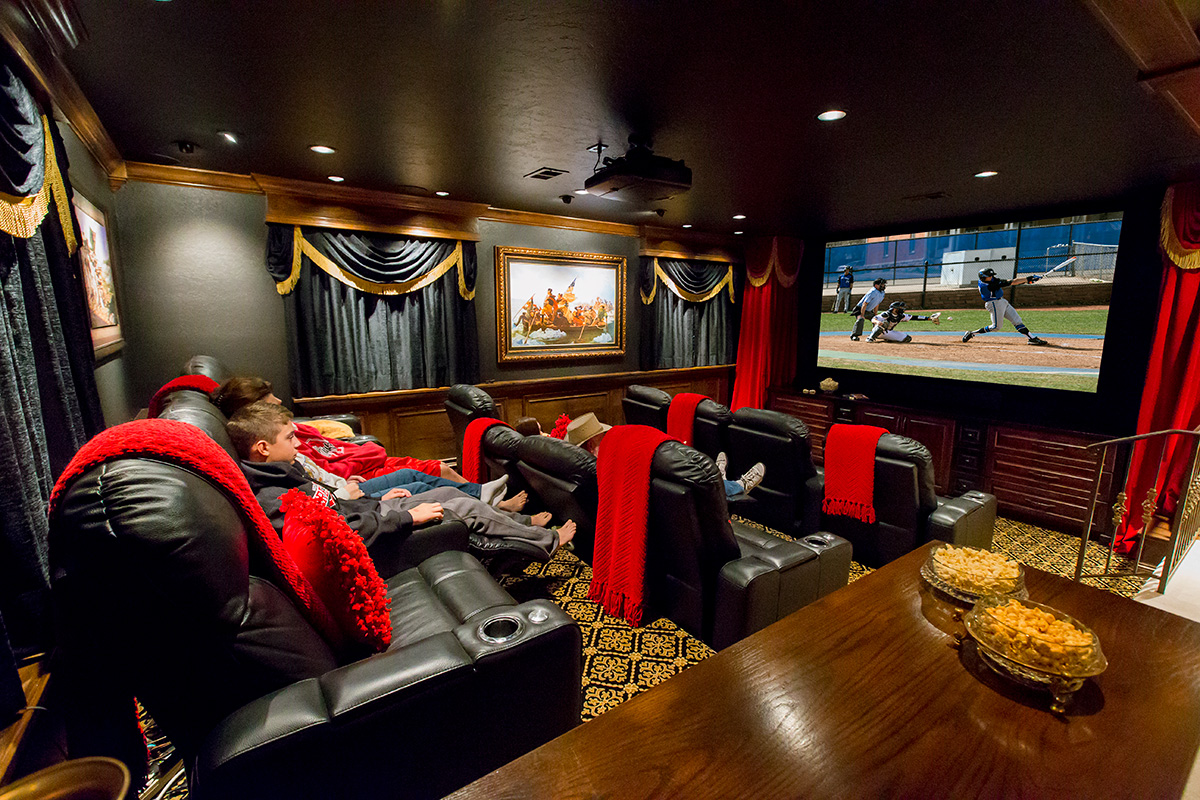
Choose furniture that supports the system
Seating is not just a decor decision. It affects viewing angles, sound experience, traffic flow, and comfort during long use. Rows of theater seating can work well in dedicated rooms, but they are not always the best fit for family spaces. Sectionals, recliners, and mixed seating arrangements are often more practical in multi-use rooms.
Think about line of sight, especially if the room has more than one row. Also consider whether side tables, cup holders, storage, or charging access will make the room easier to use. If equipment is housed in cabinetry, make sure there is enough ventilation and access for service.
A room that looks clean on day one should still be functional after years of use.
Leave room in the budget for the invisible parts
Homeowners sometimes allocate most of the budget to visible equipment and then try to cut corners on installation, calibration, wiring, network support, and room prep. That usually backfires. A great display connected to a poorly planned system will not perform at its best.
Professional calibration, proper mounting, equipment rack organization, and clean cable management all affect daily reliability. So does a strong home network, especially if the room depends on streaming, control apps, and smart home integration.
The smartest budget is not always the one with the most expensive products. It is the one that puts money where it improves the experience most.
Think in phases if needed
Not every media room needs to be completed all at once. One practical approach is to install the infrastructure and core components now, then add upgrades later. That might mean starting with a large TV and quality front speakers, then adding surround channels, acoustic treatments, or upgraded control once the room is in regular use.
This phased approach works well for homeowners who want to stay within budget without limiting future options. It also helps when the room itself is still evolving.
Match the room to your real lifestyle
The strongest media rooms are the ones designed around actual habits. If your family watches movies twice a month but uses the room for everyday TV, gaming, and entertaining, the priorities should reflect that. If you want a true cinema feel, the room should be built around light control, acoustics, and focused seating.
That is why cookie-cutter packages tend to miss the mark. Good installation is not just about putting products in a room. It is about understanding how the room should feel, how it should function, and what will still make sense years from now.
For homeowners who want a room that performs well and stays easy to live with, working with an experienced local installer can save a lot of frustration. Sound Investments approaches media rooms that way – custom fit, carefully planned, and built to serve the people who use them.
If you are gathering ideas for your own space, start by looking at the room you have and the way you want to use it most often. The right plan usually becomes clear from there.
